skip to main |
skip to sidebar
In celebration, I thought I should finish off a post from a few posts back ... lol.
Now that you've clicked on the link above, you know we're back for the second chapter of my little bookmaking experiment.
 This is where we kinda left off, with the spine open and waiting for contents.
 I just added some good old Elmer's glue along the inside.
 I pressed a ribbon in for decoration, then added another line of glue on top of that for the next part.
 Press the sheath holding the gathered and tied papers and other things into the spine. Make sure you like where the sheath is positioned, and that you have enough glue to so it can hold on to the parts it wants to hold on to.
(Note: I vertically trailed the ends of the red and white baker's twine I used to bind the sheath, so that any extra length will stick out the top and bottom of the book along with the ribbon.)
Next glue the sheath's flaps onto the original inside covers. As you do this, smooth the paper into the spine along the spine's natural bending points, so that the sheath will have the same give once the book is reopened after drying. You'll see in the final photo that there are points where the sheath isn't actually glued to the book; this helps with this flexibility that I'm talking about.
The cool thing is, the glued-in twine is the strength that holds together the papers etc. BUT the sheath gives all of the papers wiggle room. Does that make sense? Take a look at the photo. You need that give so that you can maneuver the pages, add things to them, etc.
 Once you're happy with the positioning, carefully clip the book closed. This helps it dry tightly.
 Here it is, several days later. See what I mean there in the bottom right about there being a gap where the sheath's not glued to the book? That's the natural flexibility it needs to be a book:)
So that's it! I might or might not post later photos as the book evolves with the contents I add. It's a special book for me to share with my Butterfly ... and I'm not sure I want to share it with anyone else. We'll see.
Thanks for sticking around to listen to all of this!
Ugh. I'm dying to work in my studio, but with temperatures in the 90s and my lack of money to insulate said studio, it's frustratingly on hold. In the meantime ...


 This baby girl loves her raspberries. She was so excited when she found out the surprise I had for her was this sweet treat.
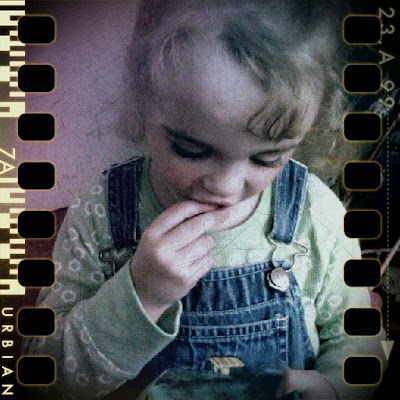 These were her brother's overalls, and he wore them for like three years. They were SO long on him at first, and I just shortened the straps and rolled up the pants legs. Eventually, though, as the years passed I couldn't lengthen anything anymore. So I put them away for what I thought would be the day HIS
child(ren) could have them.


 The trick is just a fun way I picked up somewhere along the way. If you attach a string to the bottom of a tag pocket, then the other end to the bottom of a tag, then leave a bit of blank tag, when you pull the tag out of the pocket, it won't come all the way out. Make sense?


b.jpg)


